Are you considering installing a toiletpot plaatsen utrecht? Whether you're a resident of this beautiful city or just looking for comprehensive installation guidelines, you've come to the right place. In this guide, we'll walk you through the process of installing a toiletpot, step by step. We'll cover everything from gathering the necessary tools to ensuring a successful installation. If you're in Utrecht and eager to upgrade your bathroom, read on to learn how to properly place a toiletpot.
Installing a Toiletpot in Utrecht: Step-by-Step Guide
Step 1: Gather Your Tools and Materials
Before you start, ensure you have all the tools and materials you'll need for a successful installation. These might include a toiletpot, wax ring, adjustable wrench, screwdriver, level, bucket, and towels. Having everything on hand will save you time and ensure a smoother process.
Step 2: Prepare the Area
Clear the area around your current toilet to create ample working space. Lay down towels to protect your flooring from any potential water spills during the installation process.
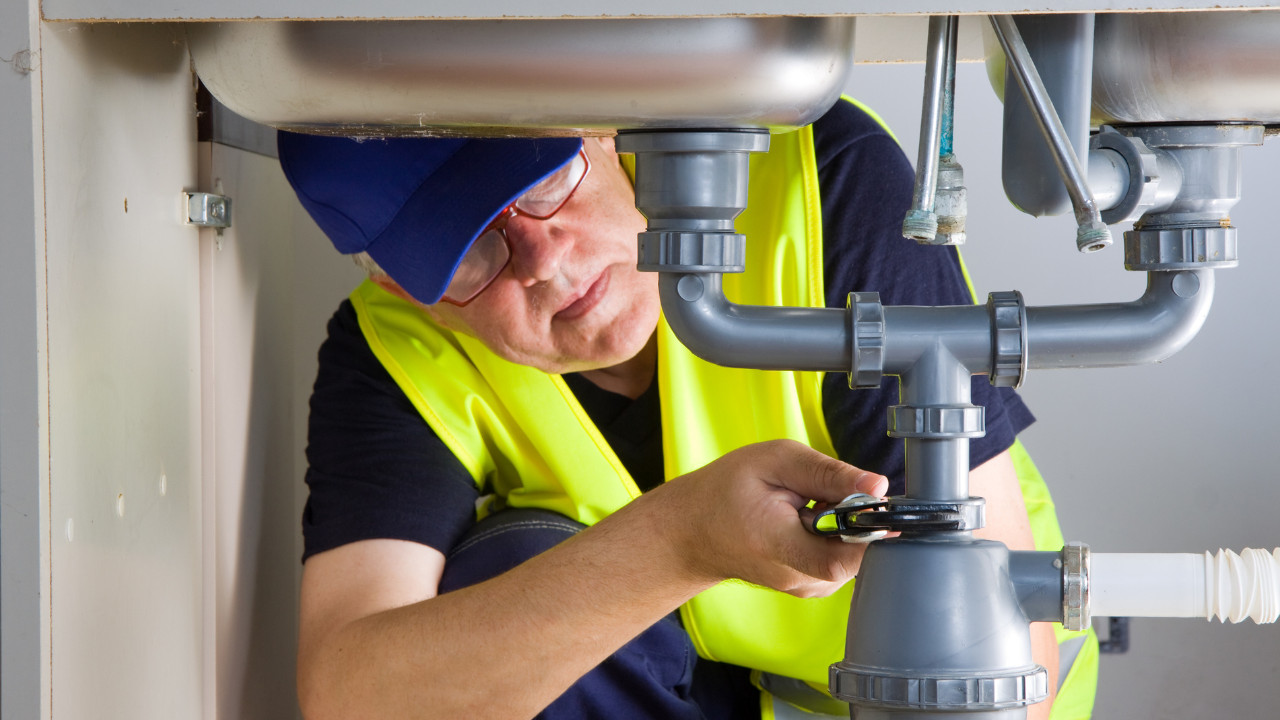
Step 3: Remove the Old Toiletpot
Start by turning off the water supply to your existing toiletpot. Flush the toilet to remove any remaining water in the tank and bowl. Use a wrench to disconnect the water supply line and remove the bolts securing the toilet to the floor. Gently rock the toilet to break the wax seal, then lift and remove it.
Step 4: Install the Wax Ring and New Toiletpot
Place a new wax ring onto the flange on the floor. Carefully lower the new toiletpot onto the wax ring, aligning the mounting bolts with the holes on the base of the toilet. Press down firmly to create a good seal.
Step 5: Secure the Toiletpot
Reattach the mounting bolts and tighten them evenly, being careful not to overtighten and crack the porcelain. Use a level to ensure the toiletpot is balanced, making adjustments as needed.
Step 6: Reconnect and Test
Reconnect the water supply line and turn on the water. Let the tank fill, then flush the toilet to ensure everything is working properly. Check for any leaks around the base and at the water supply connection.
Step 7: Finishing Touches
Once you're confident that the toiletpot is securely in place and functioning correctly, clean up the area and dispose of the old toilet responsibly.
Conclusion:
Congratulations, you've successfully installed a toiletpot in your home in Utrecht! This step-by-step guide should help you navigate the installation process with confidence. By following these instructions, you've not only upgraded your bathroom but also saved on installation costs. Now you can enjoy the convenience of a new toiletpot that enhances the aesthetics and functionality of your space.
Remember, proper installation ensures optimal performance and prevents potential issues down the line. If you encounter any challenges or prefer professional assistance, don't hesitate to reach out to a local plumbing expert in Utrecht. Enjoy your newly installed toiletpot and the improved comfort it brings to your home!